How to Make a Raspberry Pi Security Camera – 2026 DIY Guide
A Raspberry Pi security camera is one of the most searched DIY home security projects in 2026. Many users want to know whether building a DIY Raspberry Pi security camera is cheaper or better than buying a WiFi security camera.
This guide explains how to build a Raspberry Pi CCTV system step by step. It also compares a Raspberry Pi home security system with dedicated indoor security cameras so you can decide which option makes more sense.
Should You Build a Raspberry Pi Security Camera in 2026?
A Raspberry Pi security camera can work well in specific scenarios:
- Learning projects
- Budget experimentation
- Temporary monitoring
- Custom integrations
It may not be ideal for:
- 24/7 unattended home security
- Large multi-camera systems
- High-resolution recording with AI detection
If your goal is experimentation and customization, this project makes sense. If your goal is long-term stability, you should evaluate dedicated security cameras as well.
What Hardware Do You Need?
Keep the setup simple at first. Avoid overbuilding.
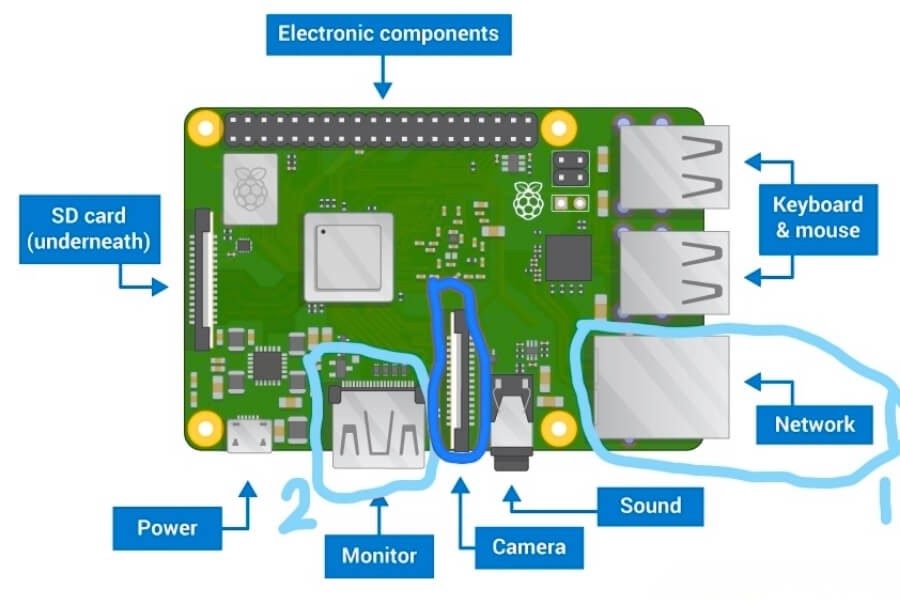
Basic Single-Camera Setup
- Raspberry Pi 4 Model B or Raspberry Pi 5
- Official Camera Module V2 or NoIR
- 16GB or 32GB Class 10 microSD card
- 5V 3A power supply
- Heat sink or small cooling fan
- Stable WiFi or Ethernet connection
Raspberry Pi 4 is sufficient for most single-camera DIY builds. Raspberry Pi 5 is better if you plan to add AI detection later.
If You Plan to Add AI or Multiple Cameras
- 8GB RAM model
- External USB SSD for recording
- Google Coral TPU for AI acceleration
- High-quality power supply
Multiple USB cameras may overload the USB bus. Plan carefully if expanding beyond one or two streams.
How to Set It Up Step by Step
The following steps use Raspberry Pi OS with Motion. This provides flexibility while keeping configuration manageable.
Install Raspberry Pi OS
Use Raspberry Pi Imager to flash Raspberry Pi OS onto your microSD card.
After booting:
sudo apt updatesudo apt upgrade -yThis ensures your system is current.
Enable the Camera Interface
Run:
sudo raspi-configNavigate to:
Interface Options → Camera → Enable
Reboot the system.
If you are using a CSI camera, ensure the ribbon cable is properly seated.
Install Motion
Install Motion with:
sudo apt install motion -yStop the service before editing configuration:
sudo systemctl stop motionThe configuration file is located at:
/etc/motion/motion.confImportant settings to adjust:
- daemon on
- stream_localhost off
- width and height
- framerate
- target_dir
After editing, start the service:
sudo systemctl start motionAccess the Camera Stream
Open a browser and navigate to:
http://<pi-ip>:8081You should see the live video feed.
To find your Pi’s IP address:
hostname -IWhich Software Should You Use?
Different users have different goals.
| Goal | Recommended Software |
|---|---|
| Simple web-based UI | MotionEyeOS |
| Lightweight CLI setup | Motion |
| Multi-camera NVR | ZoneMinder |
| AI object detection | Frigate |
| Modern interface | Shinobi |
MotionEyeOS is beginner-friendly. Frigate requires stronger hardware and careful tuning.
Choose based on your long-term objective, not just initial setup ease.
How to Secure Your Raspberry Pi Camera
A Raspberry Pi security camera exposed directly to the internet is risky.
Follow these steps.
Change Default Password
passwdNever keep default credentials.
Disable SSH Password Login
Edit:
/etc/ssh/sshd_configSet:
PasswordAuthentication noUse SSH keys instead.
Avoid Port Forwarding
Instead of opening ports on your router, use:
- WireGuard VPN
- OpenVPN
- Local-only access
This keeps your camera off the public internet.
Use a Firewall
Install UFW:
sudo apt install ufwsudo ufw allow 22sudo ufw allow 8081sudo ufw enableOnly allow trusted connections.
How to Manage Storage and Performance
Recording continuously will quickly wear out microSD cards.
For better reliability:
- Use motion-triggered recording
- Store video on USB SSD
- Set auto-delete rules
If using 1080p at 15 fps, CPU load may increase significantly. Monitor system temperature:
vcgencmd measure_tempSustained high temperature can cause throttling. Add cooling if needed.
What Are the Limitations?
Before using a Raspberry Pi as your primary home security system, consider the following.
Stability
Raspberry Pi boards are not industrial-grade devices. Long-term uptime depends on cooling and power stability.
Video Quality
Most DIY setups use 1080p. Professional cameras commonly offer optimized 2MP, 3MP, or 4MP sensors with improved dynamic range.
Storage Reliability
microSD cards degrade over time. Dedicated security cameras use optimized firmware to manage storage cycles more efficiently.
Multi-Camera Scaling
Managing several streams on a single Pi can lead to performance bottlenecks.
Maintenance
You are responsible for updates, backups, monitoring services, and security hardening. There is no vendor support.
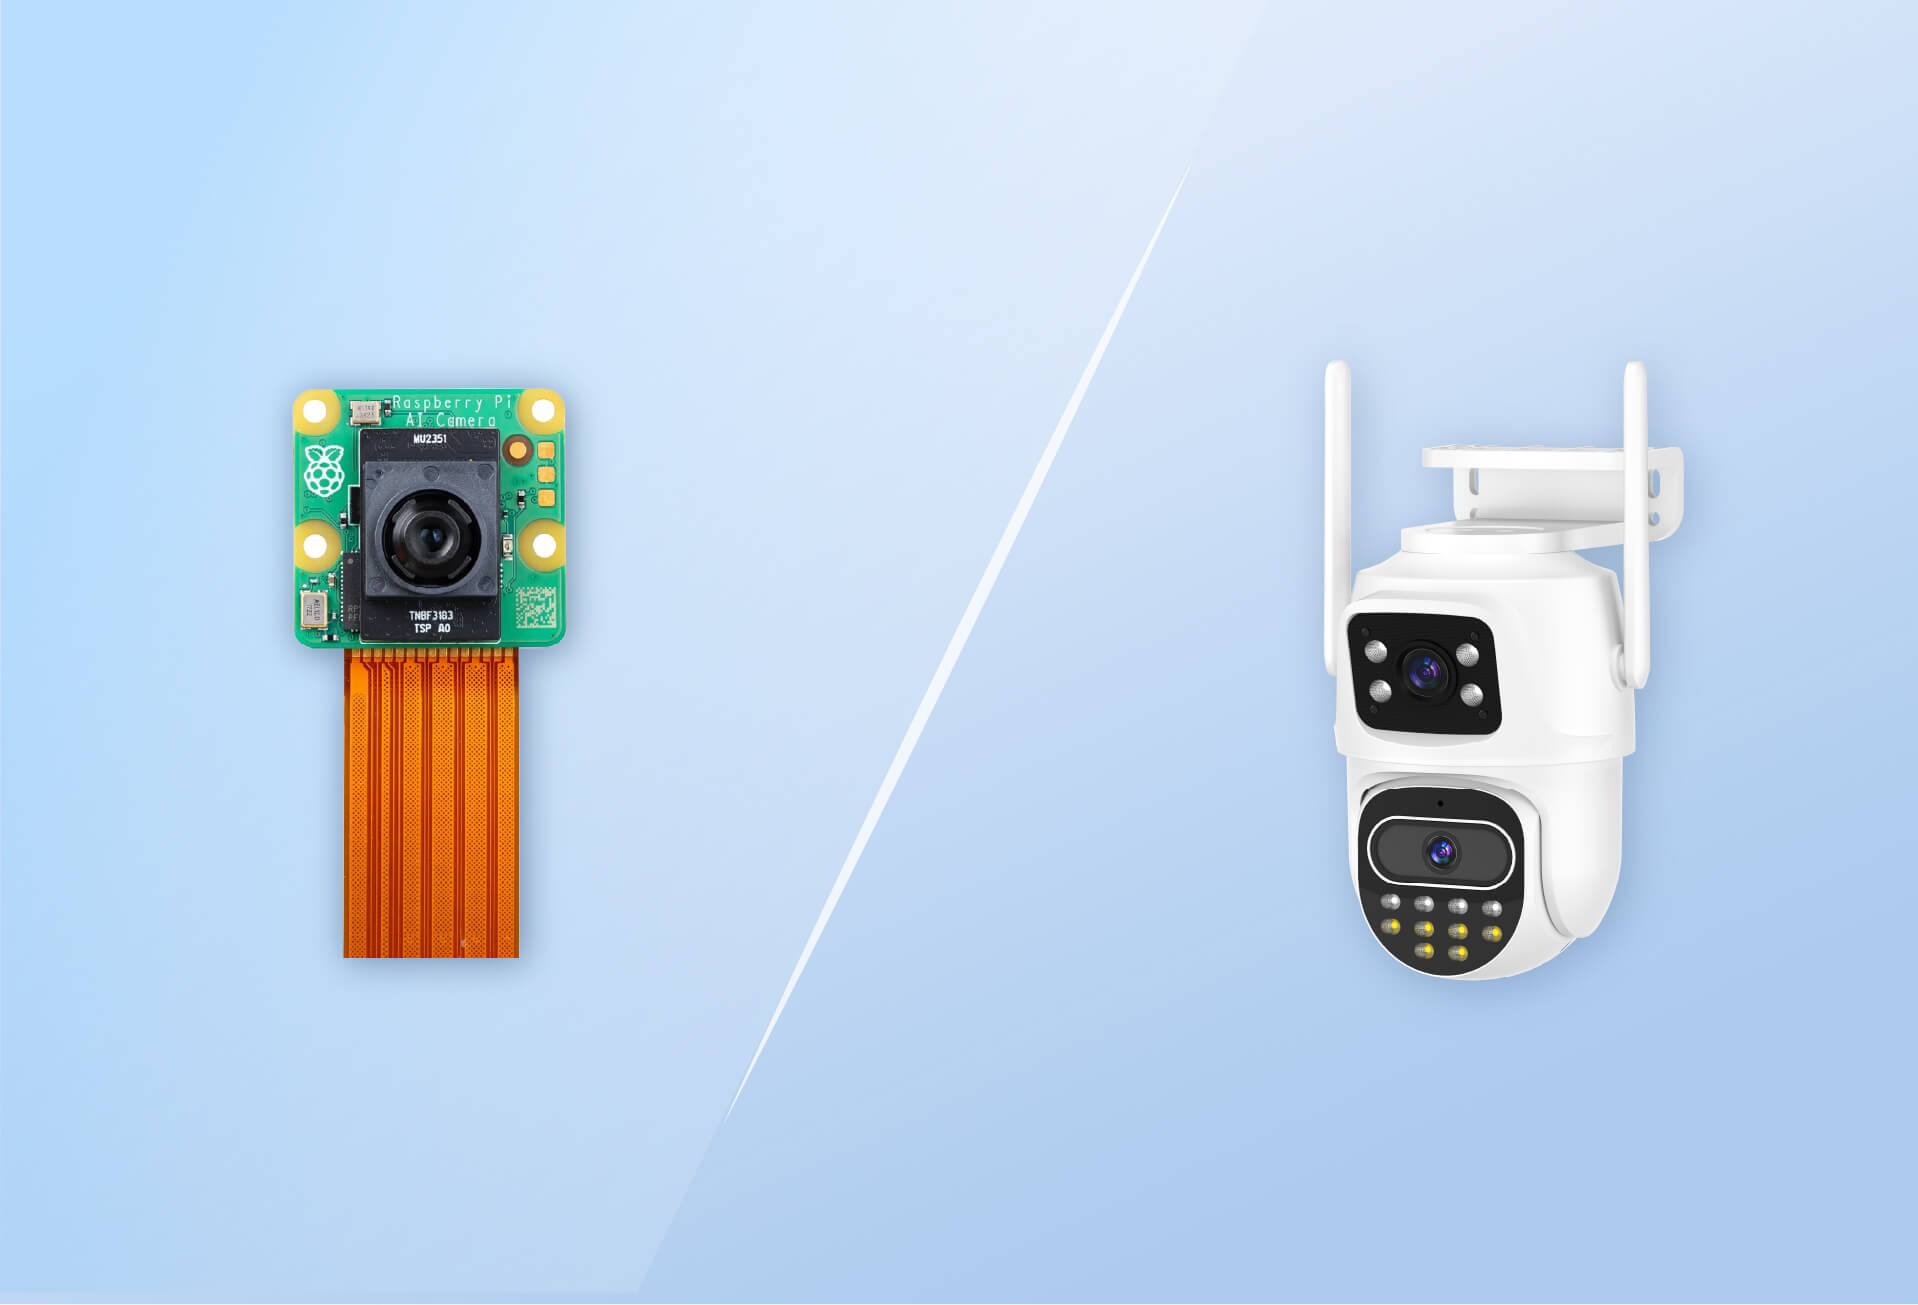
When Should You Choose a Dedicated Security Camera?
A Raspberry Pi security camera is a flexible DIY solution. It is not always the most practical long-term system.
If your goal is:
- Quick installation
- Stable 24/7 recording
- Mobile app access
- Built-in AI human detection
- Dual-band WiFi connectivity
A purpose-built indoor security camera may be more appropriate.
For example, if you are building a residential monitoring setup, a suitable option is a wireless indoor security camera that supports:
- 2MP or 3MP resolution
- Local SD storage
- App-based remote viewing
- Infrared night vision
- Motion alerts
RusinVision designs residential security cameras specifically for stable indoor monitoring. These devices are optimized for continuous operation and simplified setup without manual system maintenance.
Choosing between DIY and dedicated hardware depends on your priorities.
FAQ
Can Raspberry Pi run 24/7 as a security camera?
Yes, but long-term stability depends on proper cooling, reliable power, and durable storage. Continuous recording increases microSD wear. Regular monitoring and occasional maintenance are recommended for consistent performance.
Is Raspberry Pi better than a WiFi security camera?
Raspberry Pi provides customization and full local control. A dedicated WiFi security camera offers easier setup, stable firmware, and simplified management. The better option depends on your technical experience and long-term security needs.
How much does a Raspberry Pi security camera cost?
A basic Raspberry Pi security camera setup typically costs between $80 and $150. The total cost varies depending on camera module choice, storage type, power supply, and additional accessories.
Can I access my Raspberry Pi camera remotely?
Yes. Remote access can be configured using VPN, SSH tunneling, or secure web interfaces. Avoid direct port forwarding to reduce exposure to public network threats.
Does Raspberry Pi support AI object detection?
Yes. Software such as Frigate enables AI-based object detection. Performance depends on hardware capability. Real-time detection may require additional AI acceleration hardware.